


Hero's Drink of Choice: How To Make Mead The Foolproof Way

Mead is believed to be the oldest drink known to man. Thought to comprise of mystical properties, it was referred to as the hero's drink of choice and considered the nectar of the gods. If this has piqued your interest, then you must learn how to make mead.
Making mead is easier than brewing beer so you’re free to do it at home. When done properly using the best mead making kit, you’ll have the incredible chance of tasting a time-honored drink.
Before we get to the process, it’s important to get to know a bit about the historical background of mead. It was the chief alcoholic drink before the invention of beer and wine and was evidenced to be around 7000 BC. Some say that its inception was accidental because rain dropped into a pot of honey and people started drinking it. Not long after, people improved the formula by fermenting it.
Did you know that mead was also used for its medicinal value? In Europe, mead was combined with spices and herbs to fight particular illnesses. It was also popular, especially in grape-grown areas where they drank the best wine as an alternative to mead.
Mead was also a prominent drink of the Vikings, that’s why it’s often featured in tv shows and movies set in medieval times and inspires one-of-a-kind gift ideas like the Thor Drinking Horn Mug.

Here’s everything you need on how to make mead properly. This batch makes approximately 5 gallons of semi-dry mead with about 11% alcohol. If you want a smaller batch, the general rule of thumb is 3 lbs. of honey to 1 gallon of water to ¼ tsp. yeast.
Sanitizing everything that comes into contact with the mead is crucial. Remember, a high cleanliness level is required because a single bacterium can spoil the entire thing.

Note: Do the same thing with the other tools by submerging them in a bowl with the solution for 2 minutes.
This is the part where the must (honey and water mixture) is made. The yeast nutrient plays a huge role in providing diammonium phosphate along with nitrogen, calcium, magnesium, potassium, zinc, biotin, and pantothenic acid to the must since honey lacks these elements. It basically ensures that the yeast produces new cells throughout fermentation.
On the other hand, Campden tablets prevent the growth of unwanted microorganisms present in the honey so the fermentation process is not disrupted. It also eliminates excess chlorine in the water.

This is where the yeast is added. Basically, yeast is what converts the sugar in the honey into alcohol.
This is where you get the chance to customize your mead by adding flavors of your choice. The most common ones are raisins, oranges, and berries. This phase also lets you transfer the mead into separate carboys so you can customize 5 flavors at most.

Note: After 2 weeks, the mead can be consumed but the taste won’t be satisfactory as expected because it will taste and smell strong. It is preferred to let it ferment more before following the next phase.
Mead looks better when it’s in bottles rather than jugs. It also allows for distribution to more people when you plan to sell them or give them away to family and friends. When they’re already in bottles, they can still be fermented for a longer time to achieve a better and richer flavor profile.

Reminder: Throughout each phase, don’t forget to sanitize every equipment for 2 minutes before using it.
There is no limit when it comes to mead making. With a wide array of mead variations to choose from, you can never run out of new brews to try out. Here are some of our favorite mead recipes that you might find interesting. You may visit the full article for each recipe’s step-by-step instructions.

Ideal for new homebrewers, making small batches of mead is pretty manageable. To yield a one-gallon mead, you will only need 1 gallon of spring water, 3 lbs. of honey, ½ packet of yeast (bread yeast works fine as well), and yeast nutrients (may come from fruits, raisins, bee pollen, or citrus).
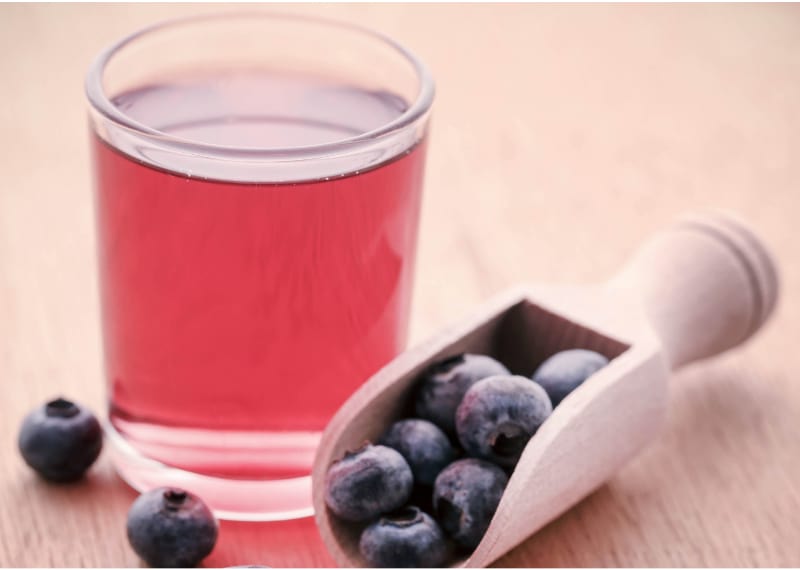
Technically speaking, the blueberry mead is a melomel, a type of mead that contains fruits for improved flavor and character.
To make one gallon of this delicious and refreshing drink, you only need a gallon of spring water, 3 lbs. of honey, 2 lbs. of blueberries (you may use fresh or frozen), half a packet of yeast (champagne or other wine yeast will do), and 1/8 cup of raisins or yeast nutrient.
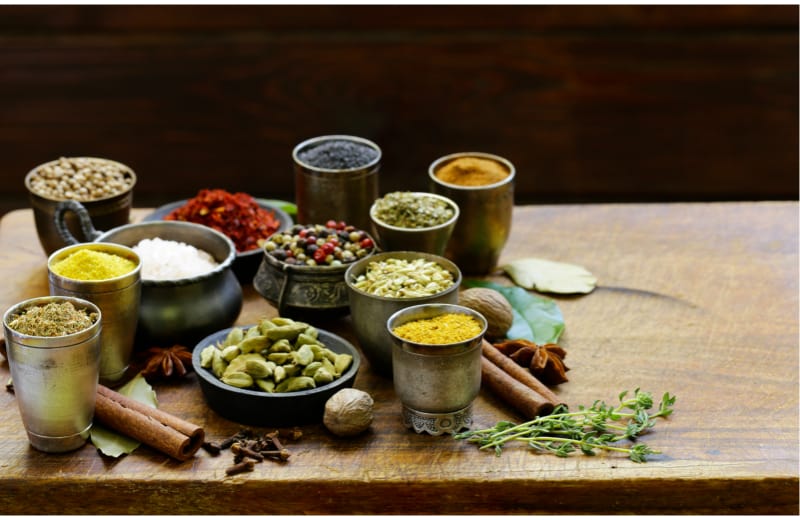
As the name suggests, spiced mead uses spices to add a whole new spectrum of flavors to your traditional mead. If you have filtered or non-chlorinated water, honey, lemon or orange, yeast, and spices, you can quickly concoct your very own spiced mead.
You can try different spices such as clove, nutmeg, ginger, cinnamon, cardamom, and even peppercorns. Some creative and adventurous mead-makers also include nuts, chocolates, and coffee in their spiced mead recipes.

If you want your mead sweeter and smoother, maple mead is the perfect drink for you. Also known as acerglyn, this mead variety uses maple syrup (both store-bought and collected from the tree will work fine) to increase the sweetness of your regular mead.
To brew yourself a gallon of this sweet-tasting mead, you will need a gallon of spring water, 3 lbs. of honey, at least 12.5 oz. of pure 100% maple syrup, and a packet of white wine or champagne yeast. For added zest, you can use fruits such as orange and a wide range of spices. You may also infuse your mead with tea.

Making this ancient drink is surprisingly easy and uncomplicated. It requires natural ingredients, basic brewing techniques, and simple equipment.
To brew your mead, the Viking way, you only need raw, unfiltered honey, spring water, fruits, and natural yeast. Raspberries, elderberries, cherries, and rose hips are excellent fruit choices, while fresh or dried berries, grapes, or plums are great yeast sources.

Based on an old Danish mead recipe, the Viking blod mead offers a rich taste, floral aroma, and red color.
To achieve its sweet and tart finish, prepare the necessary ingredients for your mead: hibiscus (dried or fresh, both will give the same beautiful bloody pigment), hops (pellet or Fuggle cone), honey, spring water, frozen mixed berries, pectic enzyme, and yeast.
Mead can be made ranging from strong to light, and the time it takes to prepare depends on various factors. That involves mixing the ingredients, honey pasteurization, and fruit addition that could last nearly an hour or more.
Next is yeast pitching and honey fermentation which involves different phases — for example, adding yeast to allow for the first fermenting process to allow for the yeast's growth to consume all the available sugars. This takes two to three weeks.
Another phase is the conditioning and maturing where all sugar consumed would have metabolized into food. You have to give it more time to age so the alcohol reaches the intended level. After that, transfer it to another vessel to be made clear and free from harsh flavors. This process could take up to two to six months.
When it comes to bottling, the bottles need to stay untouched for another, say six months to obtain the best result. In short, making mead requires around six to eight months or longer to get everything right.
Water and honey proportions are very essential in the mead making process. It's because they determine the mead's strength. A good recipe should have 3 lbs. of honey per water gallon if you need it made soft and 5 lbs. for a sweet dessert wine. Adding little honey results in lighter mead that takes a shorter time to prepare.
Mead is a fermented beverage that never undergoes distillation. Distilled alcohol has more strength added to it during the process. You can compare distillation to whiskey and fermentation to wine and beer. The danger comes in the by-products produced during distillation that can cause sickness or blindness. This is not the case in mead making. Fermenting the beverage is safer because it lacks the addition of alcohol content or the production of by-products.
It can be difficult for first-timers but it doesn’t mean it's not fun. The second time around will be easier. It can't be compared to brewing beer or wine whereby heating is involved and sugars need conversion for initiating fermentation. In mead making, you only need the patience to achieve what you want because the entire process is easier than you imagine.
Why stop at mead making, when you can try your hand at homemade ginger beer too!
Mead may be an ancient drink but there’s no reason why we can’t enjoy it in the present. All you need to do is to get the right tools, equipment, and proper ingredients to make a terrific batch. It’s also important to equip yourself with patience to achieve the best results. After all, great things should not be rushed.
Did you enjoy this tutorial on how to make mead? Let us know in the comments!


