


How To Build A DIY Home Bar: Step-by-Step Guide

Having a bar at home is every alcohol lover’s holy grail. What’s more fun than having a convenient watering hole right next to your living room or in the basement? You have full control of everything — from the guests, the bartending, music and entertainment, to the last call for drinks. Building a DIY bar from scratch can be costly, but it will help you save money in the long run.
If you’re like most people, you believe that the “new normal” is going to change the way we spend time in bars, even after this global health crisis is over. People are doing more and more of their usual stuff at home, so this is probably the most opportune time to learn how to build a bar.
The cost of a home bar will mostly depend on what kind of bar you want and what route you’ll take to get there. You have three options:
If you plan to go with Option 1, you’re looking at spending around $6,000 for a small-scale bar and around $12,000 or more for a full-scale one. It will also depend on the scope of your bar project, the materials, finishes, the location and area of your house, and the contractor you choose.
Option 2 might be able to save you a few thousand dollars if you want to do the wall framing and sheetrock yourself, but buying the pre-made bar alone will cost you well over $2000 for a simple bar unit and up to $10,000 for high-end models.
With this option, the cost will range from $500 to $750 depending on the materials you want to use. It will take 2-3 days to finish the bar, assuming you’re willing to devote at least 6 hours per day working on it.
Option 1 is expensive, while Option 2 removes customizability. This guide will focus on Option 3. Building a bar based on an existing, modified, or new blueprint will cost way less than the first two options. Plus, it gives you more control over its look and functionality.

![Anatomy of a bar [Image by Gregory Nemec]](https://cdn.shopify.com/s/files/1/1216/2612/files/bar.jpg?v=1607317198)
According to Hardwoods Incorporated, these are the standard specifications of a typical DIY home bar:
The ideal bar height from the floor to the top of a bar top (excluding the bar rail) should be 42 inches. This allows for a standard 30-inch high bar stool to seat your guests comfortably at your bar. The 12-inch difference between the seat height and the bar top is common in most applications including breakfast bars or desks.
The bar top overhang should be a minimum of 8.5 inches and could be as much as 10 inches so your knees do not hit the bar front. For guests who are above-average in height, the 10-inch overhang may be necessary.
When determining the length of your bar, the safe measurement is about 2 feet wide per person or bar stool.
For this guide, we will teach you how to build a dry bar. Essentially, a wet bar includes a sink with running water that means there is plumbing involved. A dry bar has no sink; it’s just a place where you can prepare and serve drinks.
Again, this is a DIY tutorial. It’s going to require some basic knowledge of woodwork and the usage of tools. If you have no experience in building something from scratch, you might want to start with simpler woodworking projects for beginners and then work your way up to more advanced designs.
The first step is to decide which area of your home your bar is going to be constructed. How large is the bar area and what shape do you want it to be?
In most cases, homeowners already have a pretty clear idea of how their bar is going to look like. But in case you need inspiration, you can always check Pinterest and other online sources. Home renovation company Houzz has a great gallery of home bar ideas to get the ball rolling.

Now that you’ve decided where you want to put your bar and how you want it orientated in the room, you can start laying out the groundwork. Measure how far you want the bar to come off of the wall. For this, the bar’s length distance from the wall is 7 feet.

At this point, you will now need to erect your frame. The key is to make sure that it comes out nice and square off the wall.

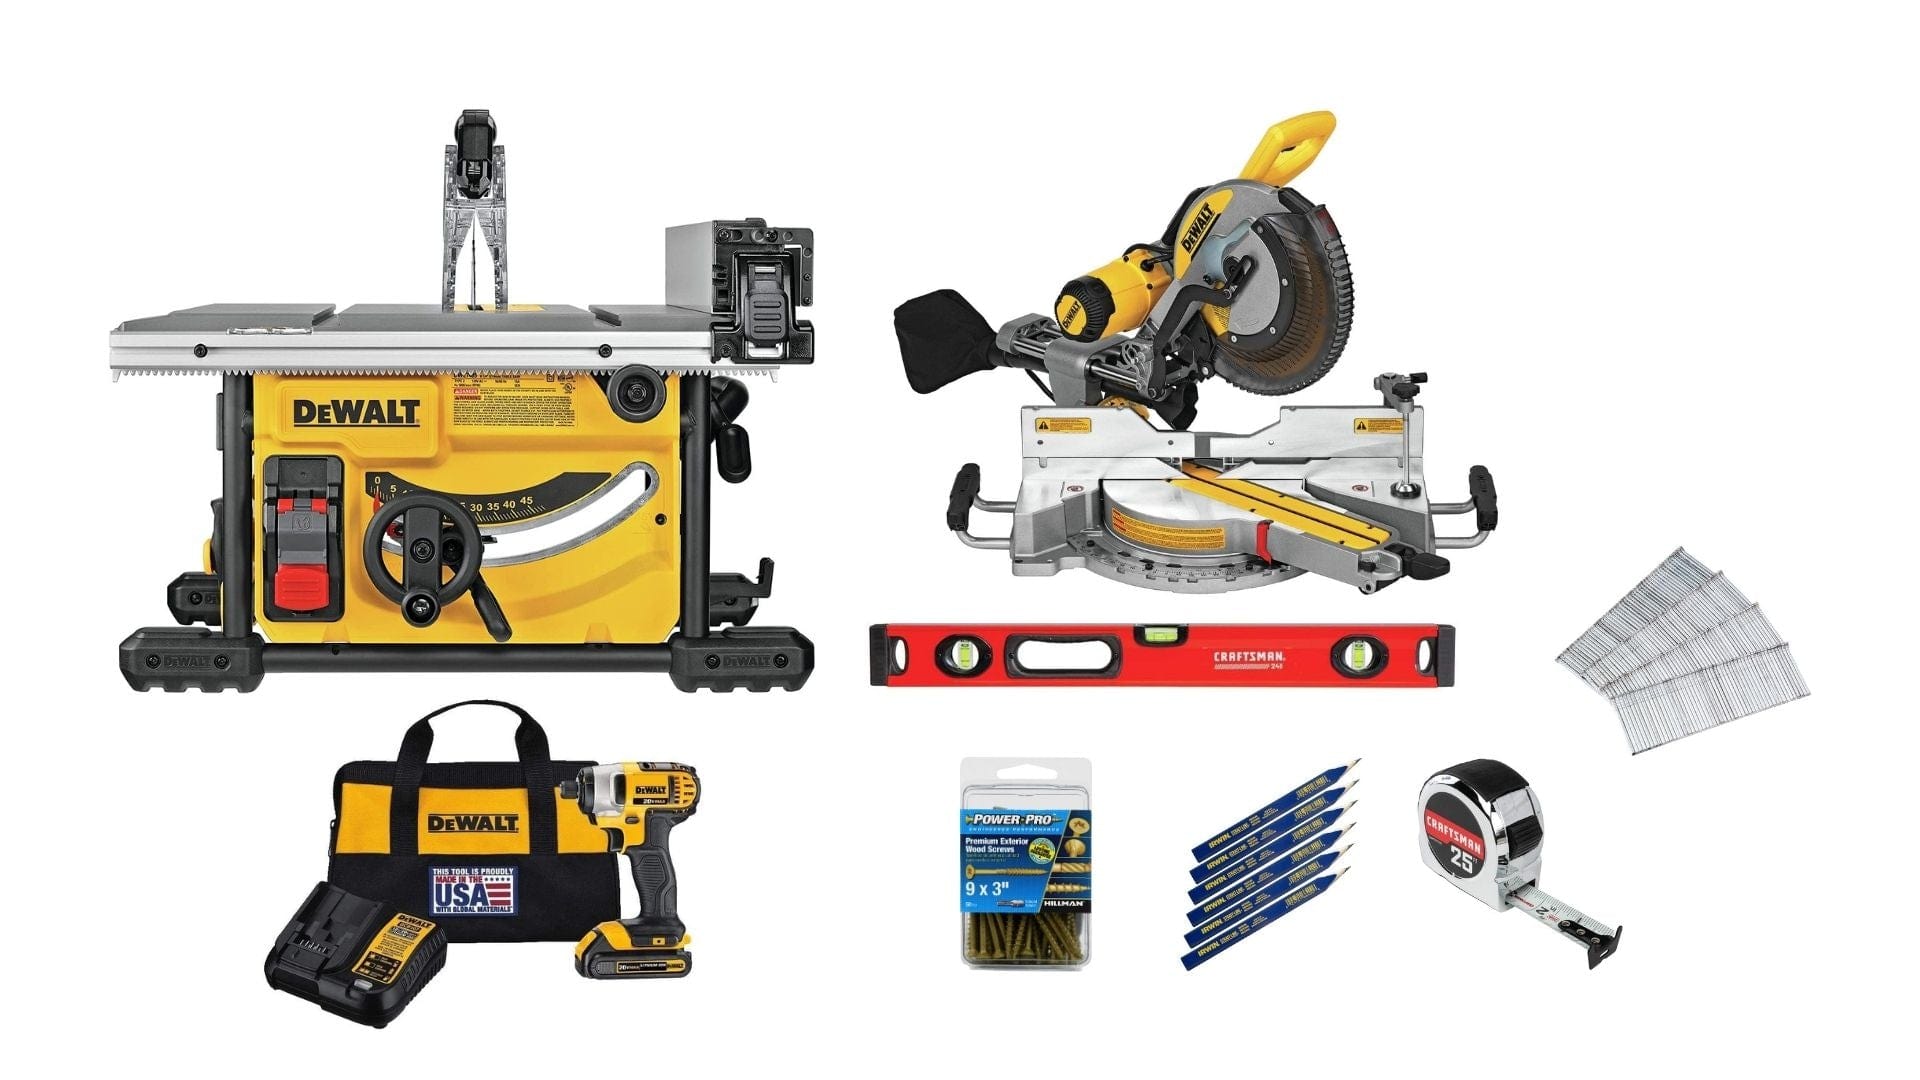
If you’ve been waiting for the step where all the work comes together and it’s going to start looking like a real bar, this is it. Making cuts in this stage will require the use of your table saw, so please make sure to get assistance from someone.

A lot of people use oak veneer plywood on the front but you could use a pine veneer or a metal diamond plate. It all depends on how much you’re willing to spend and the overall look you want to go with.
This is the final stretch, so you’re almost there! This is the part where you sand and stain to give your bar that final look.

We’ve already established that a wet bar includes a sink. Not only is this very useful for the people living in the house — no need to go back and forth from the bar to the sink — but it's also a great way to increase the resale value of the home. In fact, remodeling your home to add a wet bar can boost its value by up to 70%. It turns a living room into an entertaining space where having the drinks close to the party allows the homeowner to play host, pour the liquor, and join in the fun.

A tiki bar is decorated in a simulated Polynesian theme that usually serves exotic cocktails. You can convert a room into a tiki bar or build one in your front or backyard. You can start with a tiki party bar hut.
If you want to do it right, the goal is to aim for an authentic island feel, with just enough make-believe to turn the bar into your private paradise. For starters, decorate the tiki bar with things you’d find in Polynesia — people often confuse it with the Caribbean, so they stuff the place with pirates, flamingos, and treasure chests.
Make sure that the bar’s bare essentials are solid. You want it to be a fully-functioning tiki bar rather than just a place of decorative materials unless that’s your intention. And most importantly, you must have the right glasses and mugs when serving your exotic drinks.
Here’s a great DIY tutorial on how to build an outdoor tiki bar:
Did you feel stirred — pardon the pun — thinking about how to build a bar at home? Creating a venue for countless intimate drinking sessions with friends at the comfort of your home is a thrill, and it’s high time that you consider starting a major project like this in the coming year.
Building a bar is an investment of money, time, and effort, but it’s a lot of fun and the payoff is a degree of satisfaction that will last a long time. After delving into this project, you can also try your hand at making your own alcohol. So, what did you think about this tutorial? We’d love to hear your thoughts.


